How Can We Help?
How Workflow Builder Works
The Workflow Builder allows the user to build mobile forms without writing any code. The mobile forms are created by the Workflow Builder function with the help of widgets that can be dragged and dropped to a virtual mobile screen. Widget properties can be configured to customize the widget behavior.
DataMyte Digital Clipboard Web App
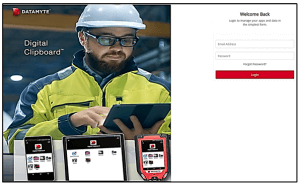
- Login to your DataMyte Digital Clipboard account or create a new account if you are new.
Create DataMyte Digital Clipboard App
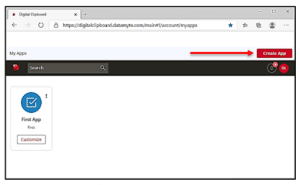
- Click Create App in upper right

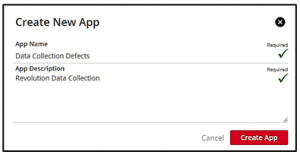
- Create New App dialog displays. App Name and App Description fields are required. Enter App Name and App Description you are creating; i.e., App Name—Data Collection Defects and App Description—Revolution Data Collection. Required and checkmark display green when required fields are populated.

- Click Create App to continue or Cancel to close without saving. Click Create App.

Create DataMyte Digital Clipboard Workflow
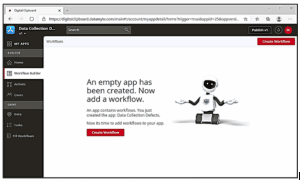
- Create Workflow for the app you created

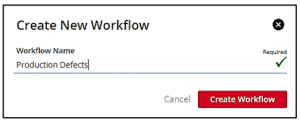
- Click Create Workflow—Create New Workflow dialog displays. Workflow Name is required. Type New Workflow Name; i.e. Production Defects

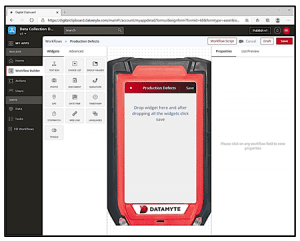
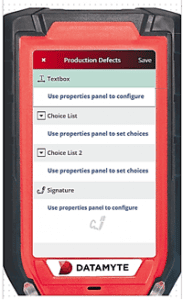
- Workflow Builder window displays

- Drag and Drop Widgets on the virtual mobile screen to build your workflow; i.e. Drag and Drop Widgets—Text Box, Choice List, Choice List and Signature

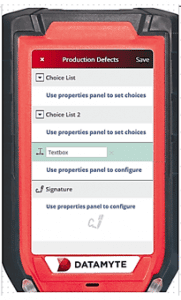
- Change Widget Order—Click widget and drag and drop to a new position; i.e., drag and drop Textbox widget to a position above Signature widget

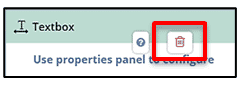
- Remove Widget—Click off the virtual mobile screen. Move the mouse cursor over the widget to remove; i.e., Textbox widget. Remove icon displays. Click Remove icon

- Click Remove to continue or move the mouse off-field to cancel. Click Remove? The Textbox Widget is removed from the virtual mobile screen.

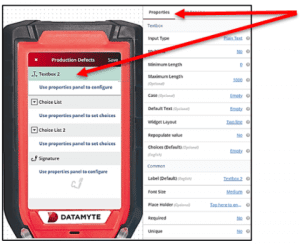
- Add Textbox Widget to the virtual mobile screen as the first widget.
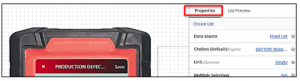
- Widget Properties—Properties of each widget can be defined by setting up the values as shown on the right-hand side.

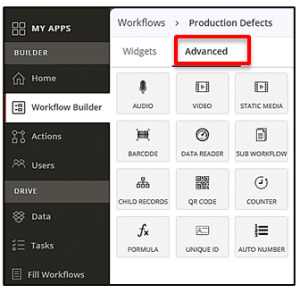
- Click the Advanced tab on the left-hand side of the screen. Advanced widgets include functionality like adding a QR code or rich media files like video and audio to the workflow you are creating.

- Click List Preview to display the configuration to customize the list view

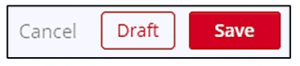
- Click Save—your mobile workflow will be created. Additional options include Cancel and Draft

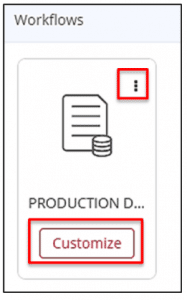
- Click Customize to customize or edit the saved (Draft) workflow. Note: Click ellipses to delete workflow

- Click Video icon
 —Tutorial displays: how to create a workflow

 —Tutorial displays: how to create a workflow