Last Updated on April 20, 2023 by Ossian Muscad
Emergency brakes, also known as parking brakes or hand brakes, are a critical component of a vehicle’s braking system. They are designed to act as a backup in case the primary braking system fails or to keep the vehicle stationary when parked. The driver can manually activate emergency brakes, typically through a lever or pedal in the cabin. They use a secondary braking mechanism to slow down or stop the vehicle.
Emergency brakes are essential when the primary braking system has failed or is not functioning properly, such as when the brakes become overheated, or the brake lines are damaged. They can also be useful in preventing the vehicle from rolling when parked on an incline.
Types of Emergency Brakes
There are several emergency brakes, each designed to provide a backup mechanism for slowing down or stopping a vehicle in the event of a primary braking system failure or other emergencies. The most common types of emergency brakes are:
Hand Brake
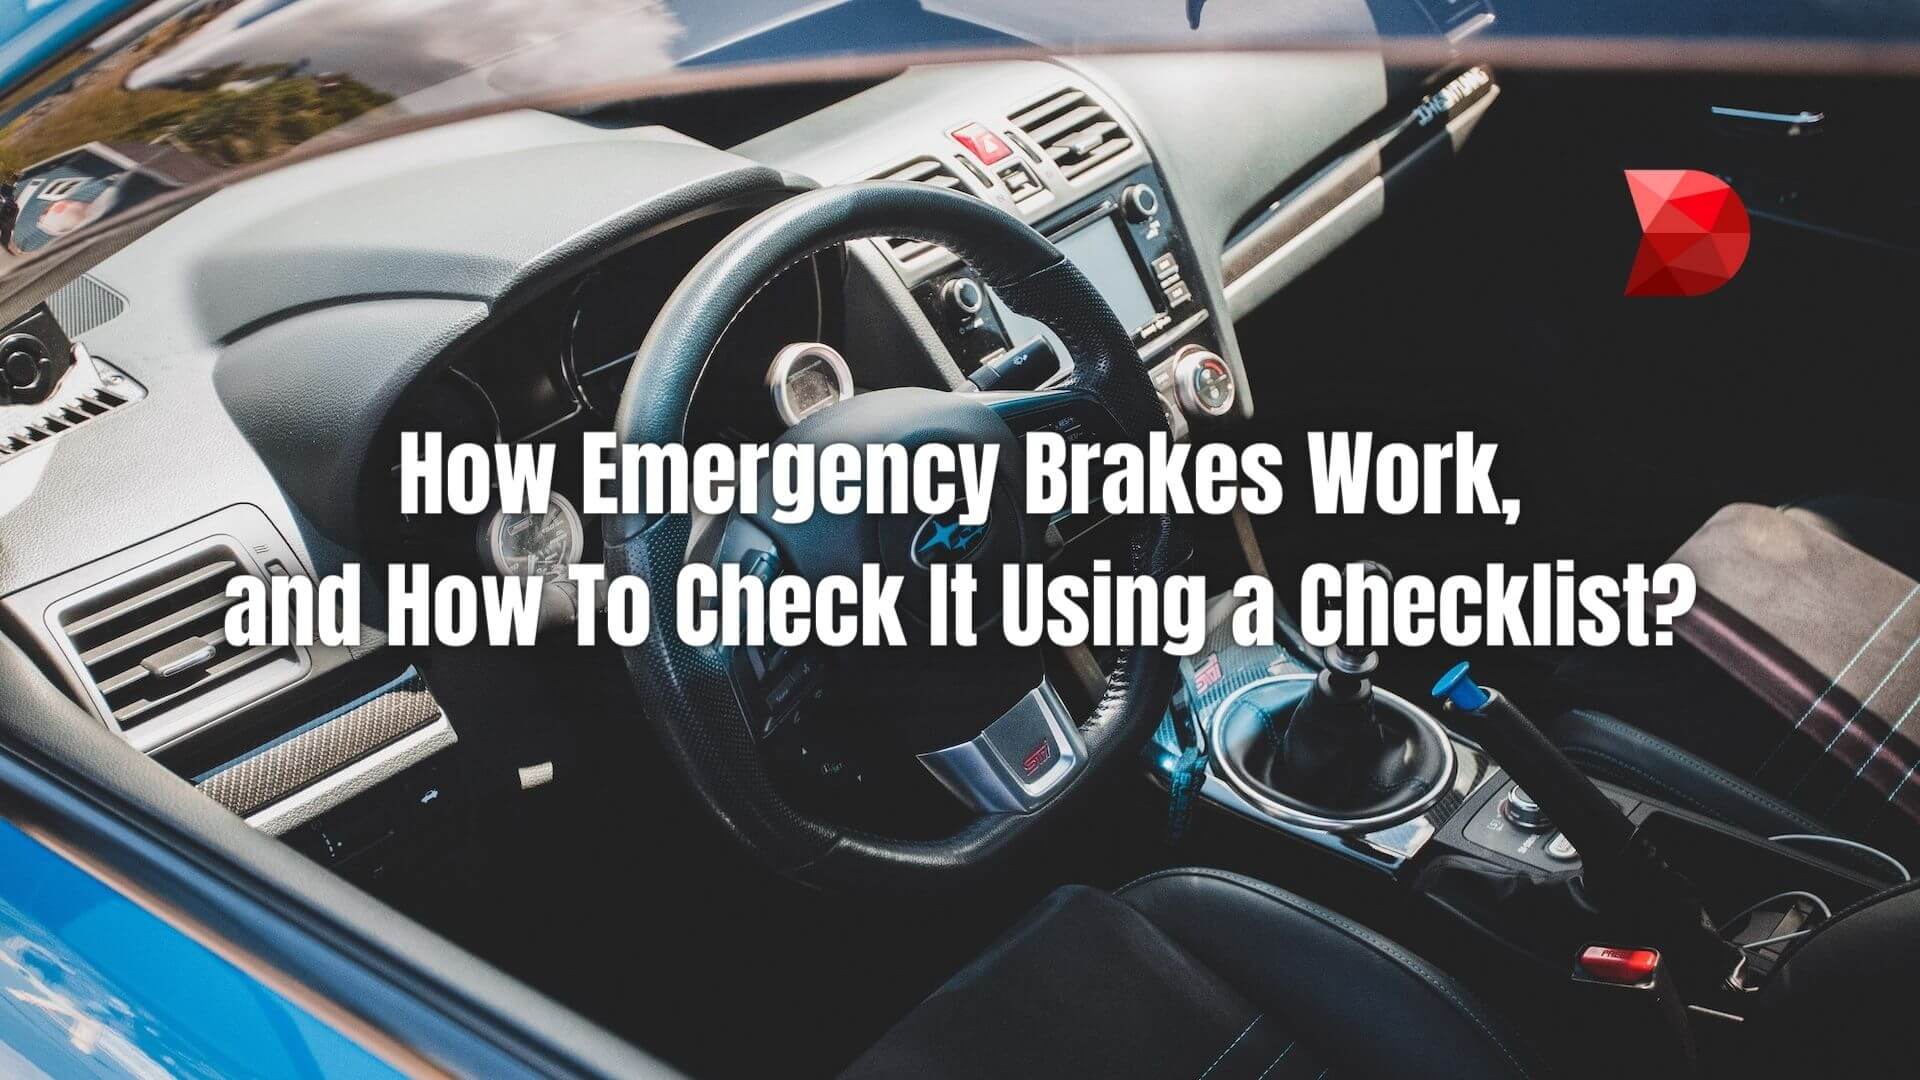
The hand brake, or a parking brake, is the most common emergency brake in cars. It is typically located on the center console between the driver and front passenger seats or as a foot pedal to the left of the driver’s foot. The hand brake is operated by pulling up on a lever or pressing down on a pedal, which activates a cable that engauges the rear brakes to slow down or stop the vehicle.
Foot Brake
Some older cars, especially those with drum brakes, have a separate foot brake that can be used as an emergency brake. This is typically a large pedal to the left of the clutch and brake pedals. The foot brake applies pressure to a separate hydraulic circuit, which engauges the rear brakes to slow down or stop the vehicle.
Mechanical Brake
Mechanical brakes, also known as secondary brakes, are typically found on heavy-duty vehicles such as trucks and buses. They consist of a separate mechanical system, often using a spring or air pressure, that engauges the brakes when the primary braking system fails. The mechanical brake is usually activated by pulling a lever or pushing a button near the driver’s seat.
Electrical Brake
Electrical brakes, also known as electronic parking brakes, are becoming more common in newer vehicles. These brakes use an electronic control unit to apply the brakes, and they are typically operated by a button or switch located in the cabin. Electrical brakes can also be automatically activated when the vehicle is turned off or when the driver exits the vehicle.
When To Use an Emergency Brake?
It should be used when the primary braking system has failed or is not functioning properly or to keep the vehicle stationary when parked on an incline. It can also supplement the primary braking system in certain driving conditions. However, it is important to use it carefully and only when necessary, as sudden or harsh braking can cause the vehicle to lose control.
Dangers of the Emergency Brake
While emergency brakes are an essential safety feature in vehicles, they can also pose certain dangers if not used properly. Some potential dangers of emergency brakes include:
- Over-reliance on emergency brakes.
- Malfunctioning emergency brakes.
- Sudden and harsh braking.
- Failing to release the emergency brake.
To avoid these dangers, it is important to use it only when necessary and always to maintain and inspect the primary braking system. Drivers should also be aware of their vehicle’s braking system and how to use it in an emergency properly. Finally, drivers should always release the emergency brake before driving and check that the warning light is off to ensure proper operation.
How To Check an Emergency Brake Using a Checklist?
Checking the emergency brake system is an important part of regular vehicle maintenance. Here is a checklist of steps to follow to check your emergency brake:
- Park your vehicle on a flat surface: Make sure that the vehicle is parked on a level surface, and engauge the primary brake system by pressing down on the brake pedal.
- Engauge the emergency brake: Pull up the brake lever or push the brake pedal, depending on the type of emergency brake your vehicle has.
- Test the emergency brake: Release the primary brake system and slowly drive the vehicle forward. If the emergency brake is working properly, the vehicle should not move. If the vehicle moves, the brake may be worn or not adjusted correctly.
- Check the brake warning light: Make sure that the brake warning light on the dashboard turns on when it is engauged and off when it is released. If the warning light stays on or does not turn on, the emergency brake may malfunction or not have been adjusted correctly.
- Check the cables: Inspect the cables for any signs of wear, damage, or corrosion. Please ensure the cables are correctly lubricated and move smoothly when the emergency brake is engauged and released.
- Adjust or replace the emergency brake: If it is not working properly or is worn, you may need to adjust or replace it. Refer to your vehicle’s owner manual or consult a qualified mechanic for guidance on doing this.
Creating an Emergency Brake Checklist with DATAMYTE’s Digital Clipboard
Since you already know what things might be included in an emergency brake checklist, here’s a guide on how to create this checklist using DataMyte’s Digital Clipboard:
Step 1: Log in to DATAMYTE’s Digital Clipboard.
Use your credentials to log in to the Digital Clipboard system.
Step 2: Select the checklist template.
Select the checklist template for an emergency brake inspection or create a new one.
Step 3: Add inspection items.
Add the inspection items to the checklist, such as:
- Park the vehicle on a flat surface
- Engauge the emergency brake
- Test the emergency brake
- Check the brake warning light
- Check the brake cables
Step 4: Configure the checklist settings.
Configure the settings for the checklist, such as assigning the checklist to specific inspectors, setting a due date, and adding any additional notes or instructions.
Step 5: Save and publish the checklist.
Once you have completed the checklist, save and publish it to make it available to the assigned inspectors. The inspectors can then access the checklist on their mobile devices and complete the inspection as required.
Conclusion
In conclusion, creating a checklist for checking emergency brakes is important for ensuring vehicle safety and preventing accidents. Following a step-by-step inspection process, drivers and mechanics can identify potential issues with the braking system and address them before they cause any harm.
Moreover, a digital checklist platform like DATAMYTE’s Digital Clipboard offers a more efficient and accurate inspection method. The low-code capabilities of this platform make it easy to create customized checklists for specific tasks, which can help streamline the inspection process and improve productivity. If you want to know more about DATAMYTE’s Digital Clipboard, schedule a demo with us now!