What are the Document Widget Properties
Document Widget
Document Widget can be used to attach a document to your workflow during data collection. The end-user selects the document on the Revolution Device to be attached and submitted with data. Additionally, you can enable the document to be viewable when you export the data to Excel.
Document Widget—Properties
1. Allowed File Type
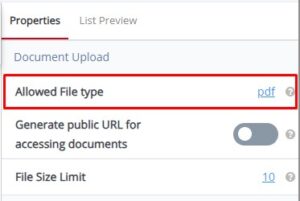
The Allowed File Type default value is PDF. The Document Widget has the following file type: Doc, Xls, Pptx, Html, Docx, Xlsx, odt, Pdf, Ppt, txt. By default, only PDF documents are allowed. The allowed types can be decided at the time of designing the workflow and many or all of the above types can be set for this widget. The allowed file types can be specified as a comma-separated list of the above types. Example— pdf,txt,docx. Tooltip: Specifies the types of files that are permitted for upload or processing. Users can only upload files with extensions corresponding to the allowed file types.
2. Generate Public URL for Accessing Documents
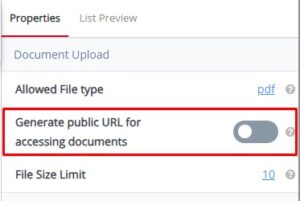 Generate Public URL for Accessing Documents default toggle value is ‘Yes’. The toggle options include Yes or No. If the property is set to ‘Yes’—the document is visible when exporting data to Excel. If the property is set to ‘No’, the document will not be visible when the data is exported.
Tooltip: Enables the creation of a shareable web link that grants public access to specific documents stored online. This URL allows others to view or download the documents without requiring login credentials. Useful for sharing documents with a wider audience.
3. File Size Limit
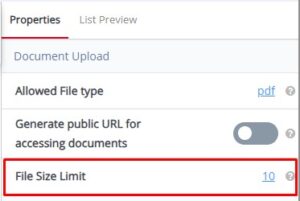 File Size Limit default value is 10. The File Size Limit can be specified in MB for the document to be uploaded. Example—if the File Size Limit property is set to 5.5, the app user will be able to upload the document with a size less than 5MB while filling in the workflow from the mobile device.
Tooltip: Defines the maximum size allowed for uploaded files. Files exceeding this limit are usually rejected or require compression before upload. Helps optimize server resources and ensures smooth data transfer by preventing the upload of excessively large files.
Document Widget—Common Properties
Document Widget Common Properties include—Label, Font Size, Place Holder, Required, Unique Identifier, Auto Advance Custom ID, On Value Change, Hidden, Read-Only, Help Expanded, Increase Indent By, Visibility Conditions, and Validity Conditions. Reference Text Box Widget—Common Properties for definitions and examples
Document Widget—Revolution Device
- Add Document Widget to your workflow, publish workflow, and load on the device
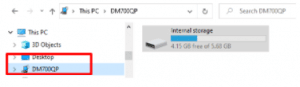
- Connect Revolution Device to your computer via USB cable
- Use File Explorer—Browse to DM700QP > Internal storage
 Select Internal storage > Browse to Folder > Download
 Drag and drop your select *.PDF file to the Download folder
 Select your Workflow on Revolution Device with Document Widget
- Click Select Document >
 Click the black file folder
 Click Downloads
 Click on the ellipse (three dots on the right of the screen)
 Click on Show SD card
 Click the Downloads menu (three lines on the left)
 Click Open from > Internal storage
 Internal storage > Select Download folder
 Select Document; i.e. view Doc Rev Device pdf
 Click red X in the circle to remove the selected document. The dialog displays asking you to confirm you want to remove the document. Click NO. Dialog closed
 Click ‘Done’ to save the selected document to be attached to workflow data.
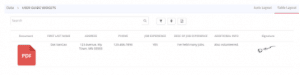
- Complete workflow and submit data. Example—below displays submitted data to Digital Clipboard with PDF document attached.
 Select Internal storage > Browse to Folder > Download
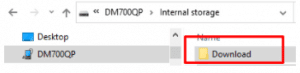 Drag and drop your select *.PDF file to the Download folder
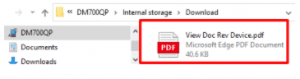 Select your Workflow on Revolution Device with Document Widget
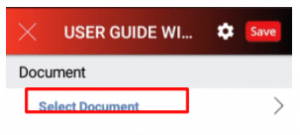 Click the black file folder
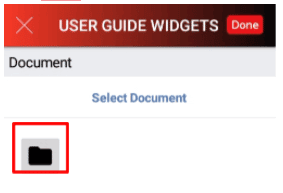 Click Downloads
 Click on the ellipse (three dots on the right of the screen)
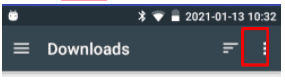 Click on Show SD card
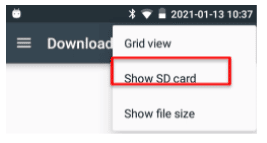 Click the Downloads menu (three lines on the left)
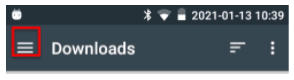 Click Open from > Internal storage
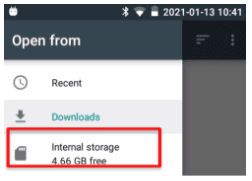 Internal storage > Select Download folder
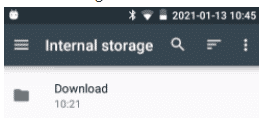 Select Document; i.e. view Doc Rev Device pdf
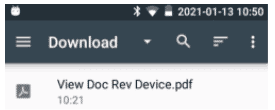 Click red X in the circle to remove the selected document. The dialog displays asking you to confirm you want to remove the document. Click NO. Dialog closed
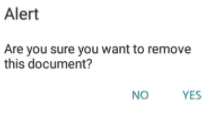 Click ‘Done’ to save the selected document to be attached to workflow data.